Key Takeaways
- Use the Journal app to write journal entries with photos, videos, and locations, or take inspiration from the app’s personalized suggestions.
- Control the data the app uses to generate suggestions in Settings > Privacy & Security > Journaling Suggestions.
- Lock your journal entries for added privacy in Settings > Journal > Lock Journal.
Apple added the Journal app to iPhones with the update to iOS 17.2. This intuitive app makes it easy to chronicle moments in your life, reflect on past experiences, or simply document your thoughts. We’ll show you how to do everything from adding your first entry to locking it all behind a passcode.
Set Up Journal’s Permissions
The Journal app can suggest entries based on your day-to-day activities. But, since the generation of these suggestions involves the app having access to your data, it first requires you to consent to giving this data.
Upon launching the Journal app for the first time, the initial step is to configure app permissions to access your data and enable journaling suggestions according to your preferences and activities. If you didn’t enable suggestions right away, here’s how you can enable them later.
Open the “Settings” app on your iPhone.

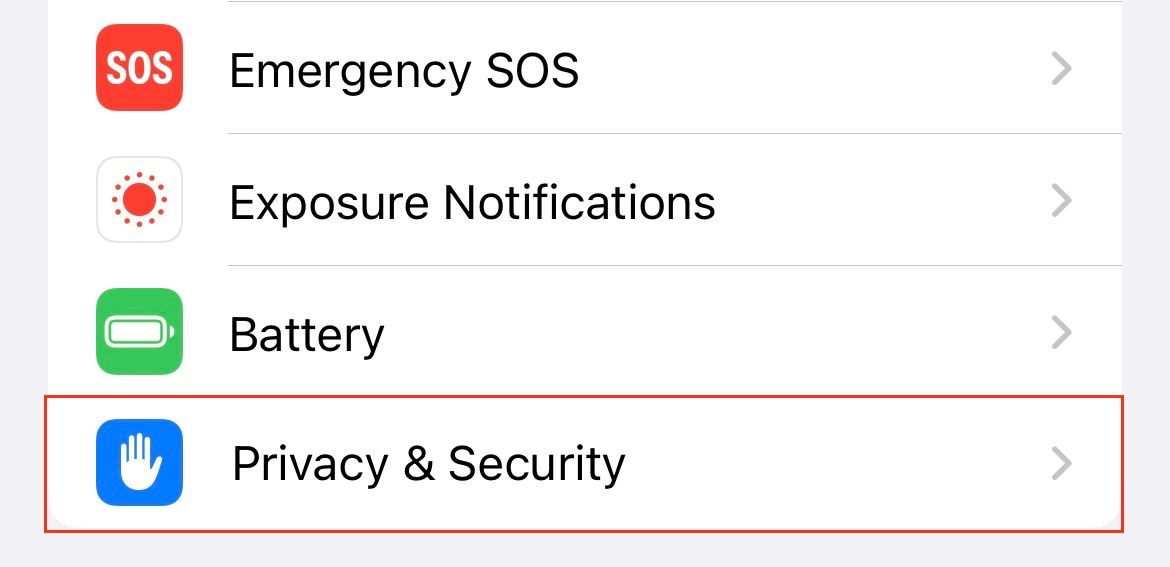
Scroll down and tap on “Privacy & Security.”
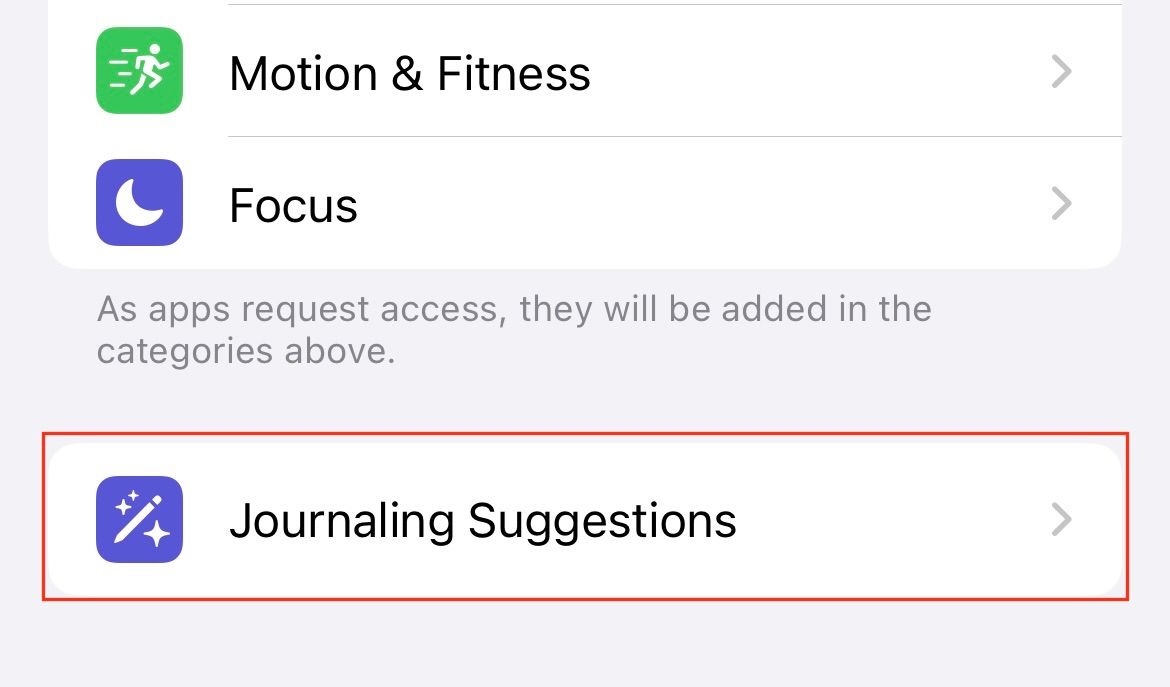
Now tap on “Journaling Suggestions.”
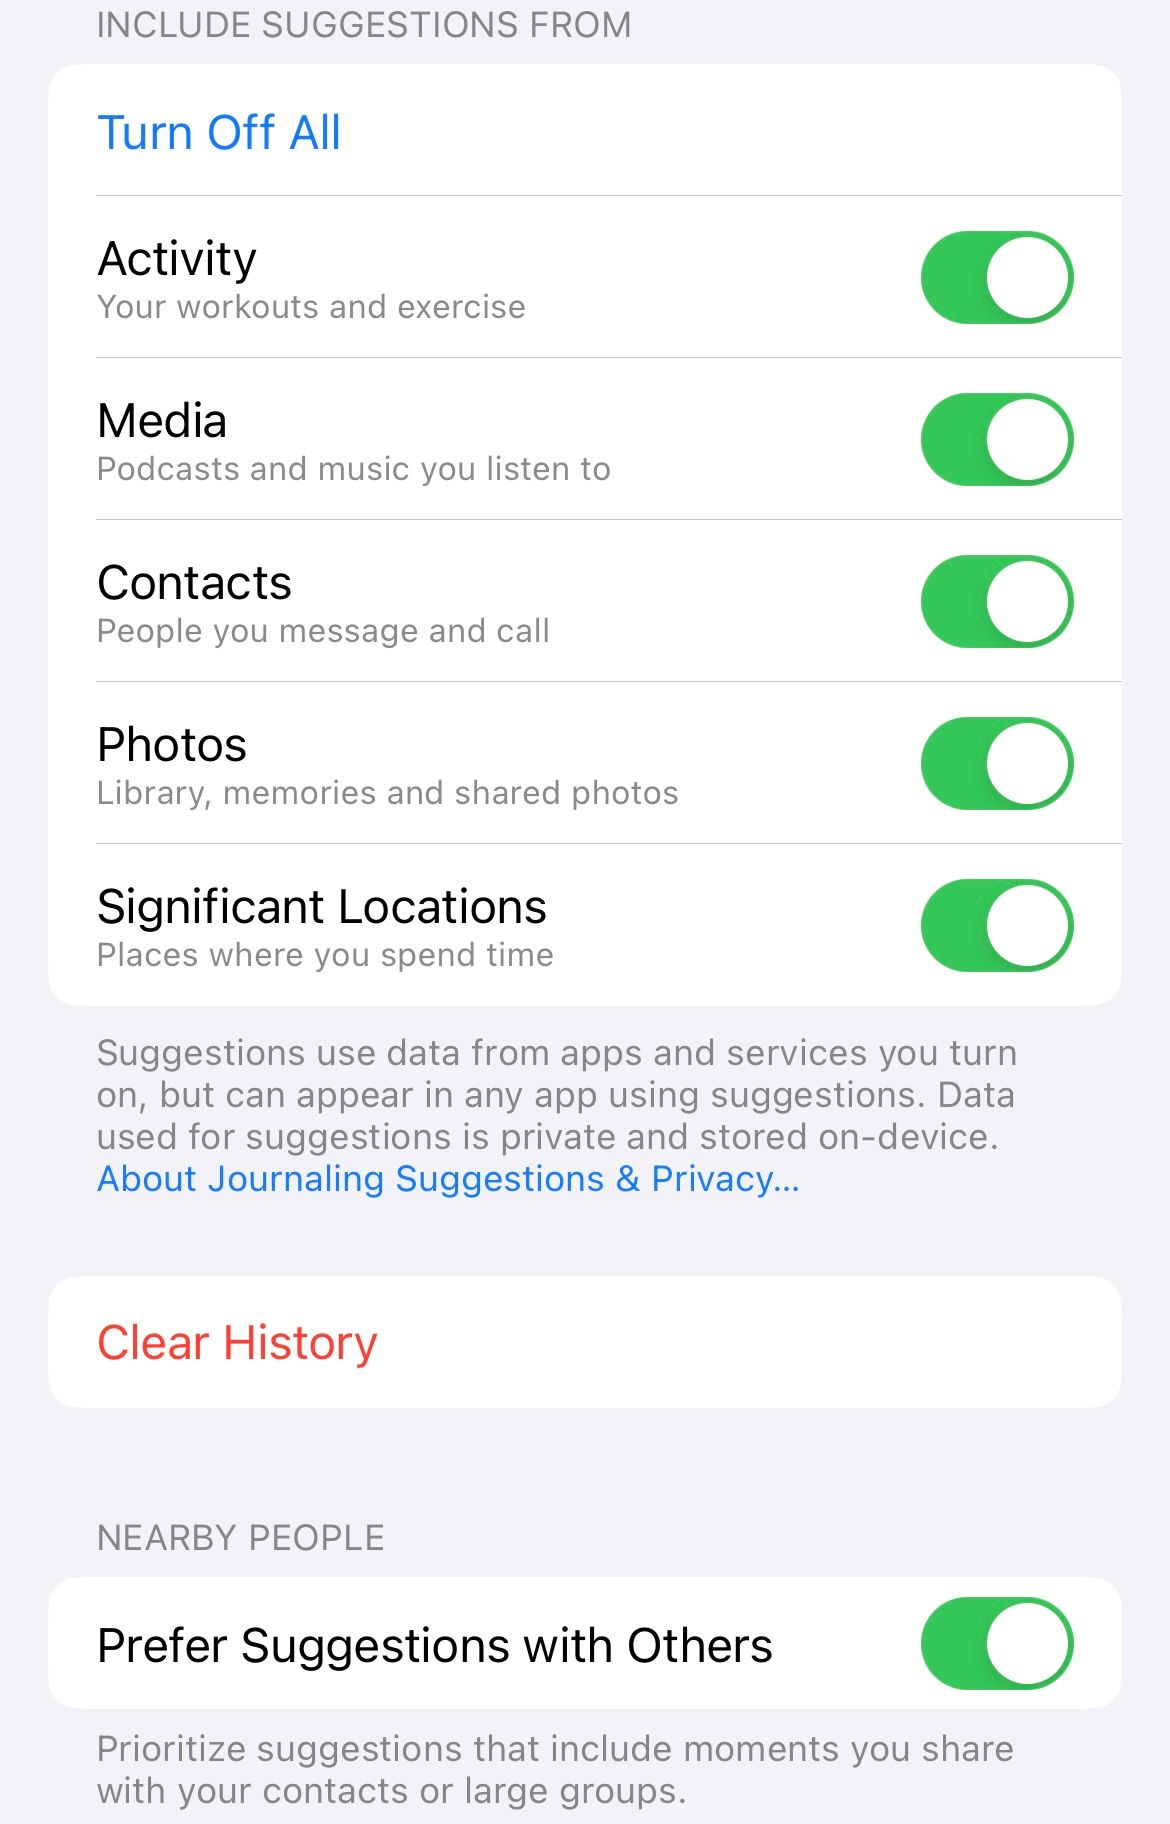
You will notice that all journaling suggestions are currently inactive. You can turn them on by toggling the switches for the data points that you would like to see suggestions for in the Journal app.

You have now configured permissions and allowed the Journal app to access your data to provide personalized suggestions for creating new journal entries.
Add a Journal Entry
Now that your app permissions are set up, let’s dive into the process of creating a journal entry. Whether you want to capture a special moment, reflect on your day, or simply jot down your thoughts, the Journal app offers several customizations for your entries. To create a new journal entry, open the Journal app and follow the steps explained below.
Tap the Compose button (the “+” sign at the bottom) within the app.

On the next screen, you will have two options for starting a new journal entry. You can either start a new entry or choose from the app’s suggestions to write about a specific moment. Click on “New Entry” to start a new blank journal entry (we will look at starting journal entries from suggestions a little further down).

You can now begin writing your journal entry. At the bottom of the page, the app also allows for the addition of photos, videos, voice notes, and location to make the journal entry more detailed and personalized.

When you are done writing the entry, click on “Done” to save it. With this, you have now created your first journal entry.
Explore Your Personalized Suggestions
Once you have opted in to receive personalized suggestions for creating journal entries, the Journal app will create suggestions in two forms. One is by suggesting new entries based on your activities from photos, music, or workouts, and the other is by giving you reflection thoughts to think about and write. Let’s look at both suggestions.
When you open the Journal app and click on the (“+”) icon to add a new journal entry, on the next screen you are shown a list of suggestions for creating a journal entry.
On the suggestions that are based on your activities, you will see an icon at the bottom right of the suggestion to start writing a journal entry.

Clicking on the icon will start a new journal entry based on the suggestion. You can continue to write the entry, add more images, audio, or location to it, and then click on “Done” to save it.

In addition to suggesting based on your activity, you can also choose from reflection prompts as shown below. Clicking on any of the prompts will create a new journal entry.

The writing prompts can be refreshed by tapping the “refresh” icon in the top right corner.
Manage Your Journaling Suggestions
Turning on journaling suggestions means that the application gets access to different kinds of data on your phone. While all the recommendation algorithms run on your device and no data is ever shared outside, you still have control over what the app can access. To manage the data on which suggestions will be built, on your iPhone, navigate to Settings > Privacy & Security > Journaling Suggestions.
You will now be shown all the data that the app uses to build suggestions. You can turn off the switches for any suggestions you do not want to see and tap the link for “Clear History” if you would like to remove any existing suggestions that appear in the app.
In addition to managing the data that suggestions can access, you also have the choice to disable suggestions altogether. To do that, navigate to Settings > Journal and turn on “Skip Journaling Suggestions.”

It’s important to note that skipping suggestions alone (without disabling individual data points like Activity, Media, and Photos from Settings > Privacy & Security> Journaling Suggestions) will not limit the access that the app has to your personal data, it will only stop the app from showing suggestions to you for new journal entries.
Review Your Journal Entries
As you continue to use the Journal app and create entries, you will have a digital archive of your life’s moments. Let’s look at how you can navigate through and review these entries with ease.
On opening the journal app, the app’s homepage shows all your journal entries as a list.
Tapping on the ellipsis icon in the bottom right corner of an entry will give you options to edit, bookmark, or delete the entry. You can use this option to edit existing journal entries or bookmark them, which adds entries to a custom list, making them easier to filter and find.

You can use the “Filter” button at the top right to find journal entries based on some pre-defined app filters as seen below.

Lock Your Journal Entries
Your journal entries will often be personal reflections and memories, and to offer maximum privacy, the Journal app supports locking of journal entries with your iPhone’s passcode, Face ID, or Touch ID. Follow the steps detailed below, to lock your journal entries.
Open the “Settings” app on your iPhone.
Scroll down to find the “Journal” app and click on it.

One of the items in the Journal app settings is “Lock Journal.” Click on it to enable the lock feature for your journal entries.

Now, you have the option to set Face ID, Touch ID, or your device passcode for authentication. Additionally, Apple also gives you the option to define an idle time duration after which it will ask you to re-authenticate.

This additional layer of security ensures that only you can access and explore the contents of your digital journal.
Add a Journaling Schedule
You might look at journaling as a habit to jot down your thoughts and memories at regular times. To get reminded of creating a journal entry, you can create a journaling schedule.
In the Settings app on your iPhone, navigate to Journal.
Scroll down and tap on “Journaling Schedule.”

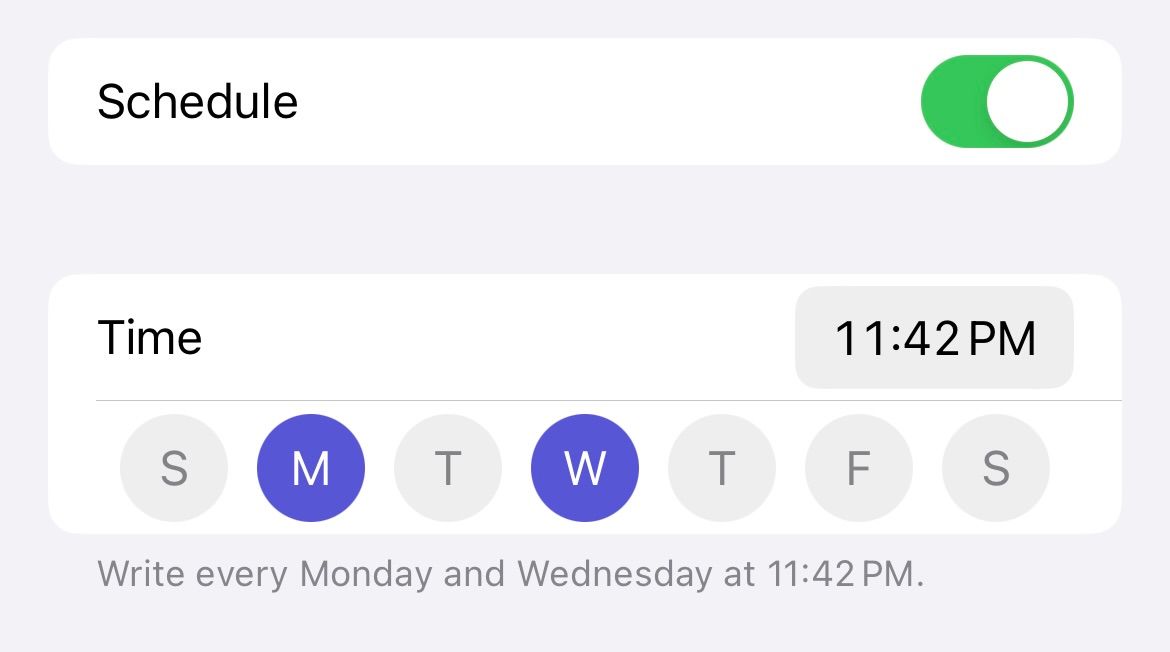
Now, turn on the “Schedule” switch and build a schedule for getting notified about creating journal entries.
 Delete an Entry
For instances where you might wish to delete a specific journal entry, the process is pretty straightforward.
On opening the journal app, the homepage shows all your entries as a list. Locate the entry you want to delete and tap the ellipsis icon in the lower-right corner of the entry.

From the pop-up menu, select “Delete” to remove the entry.
Congratulations! You are now equipped to fully utilize Apple’s Journal app, including all its functionalities, from configuring permissions to crafting entries, managing suggestions, securing your journal, and managing entries. Happy journaling!
source