Key Takeaways
- Use Shift+Command+. (period) to reveal hidden files in Finder, but be cautious as many are important system files.
- The third-party app Funter allows you to search for hidden files without showing them first, helpful for finding files left behind by uninstalled apps.
- Funter can also hide files and folders, which can be undone by showing hidden files using Shift+Command+. (period) and selecting “Unhide With Funter.”
Need to access hidden files and folders in macOS? Let’s take a look at the easy way to show them, as well as a free third-party app you can use to search for them.
Most hidden files in macOS are important system files. Don’t move, edit, or delete them unless you know what you’re doing.
How to Reveal Hidden Files in Finder
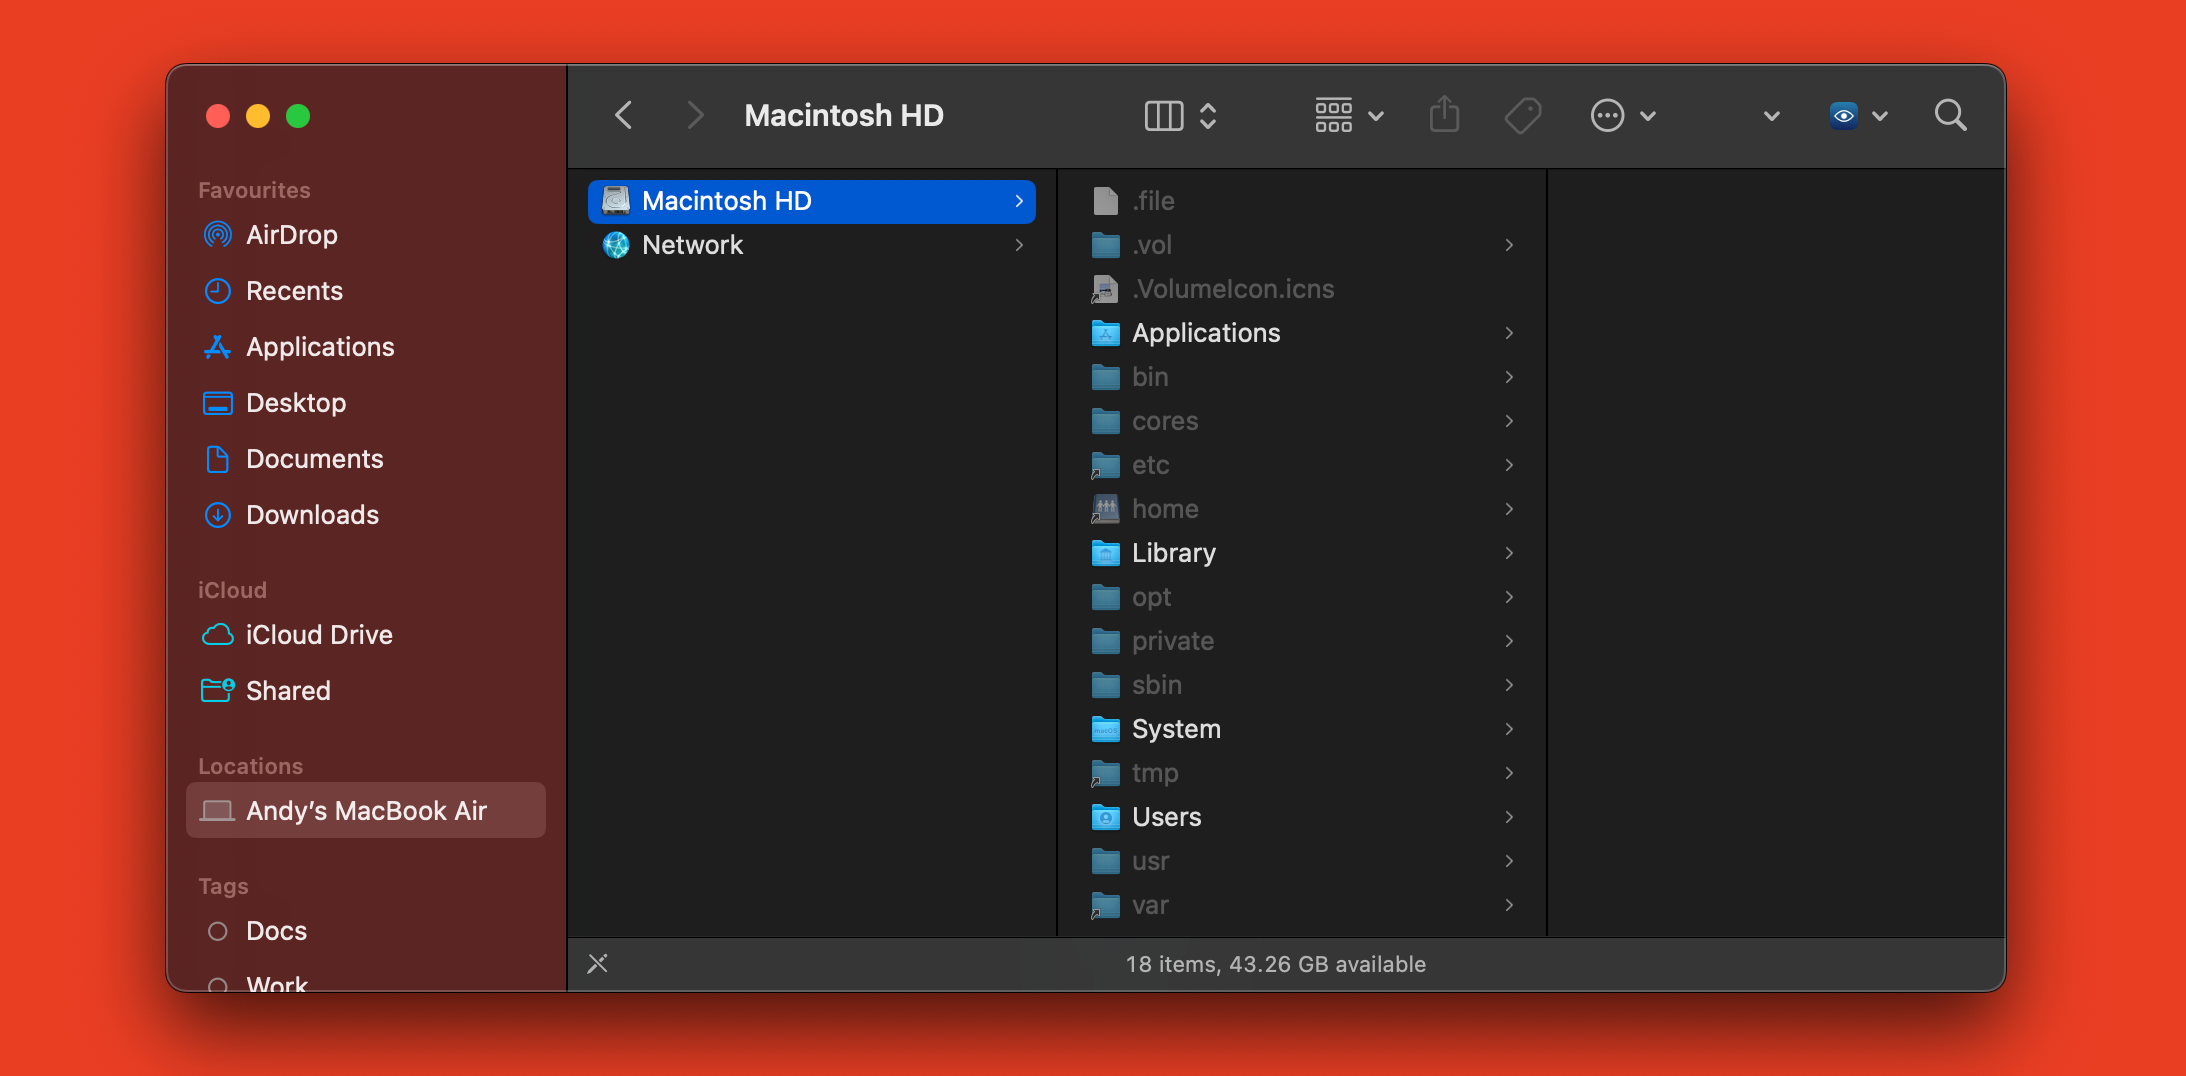
There’s a keyboard shortcut to show all the hidden files and folders on your Mac. Press Shift+Command+. (period) to display them. Repeat it to toggle the setting off again.
The files will be grayed out so that you know they’re “hidden”, but you can access them as you would any normal file or folder. It isn’t a perfect solution, though. If you’re looking for a particular file, you’ll need to know where on your system it’s stored, as hidden files don’t show up in a Spotlight search.
It’s also pretty ugly, as there are hidden files everywhere. Some apps might even leave them on your desktop without you knowing.
How to Search for Hidden Files and Folders on a Mac
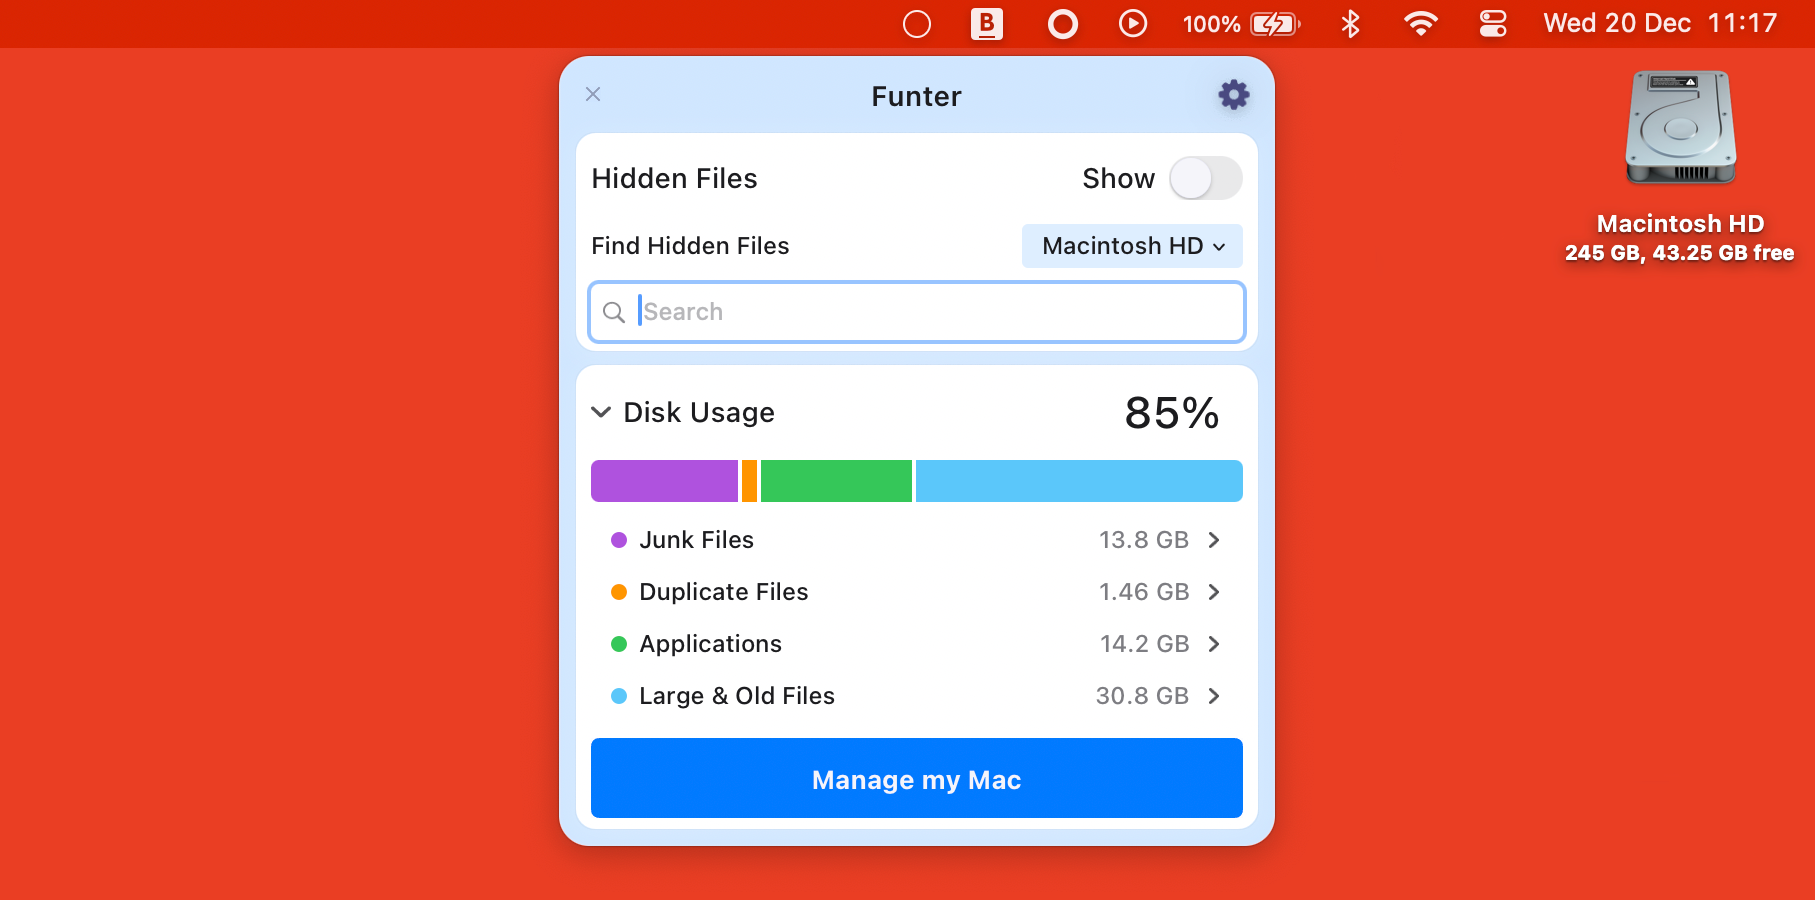
A better way to deal with hidden files in macOS is with a third-party app called Funter. Its best feature is that it lets you search for hidden files without even needing to show them first.
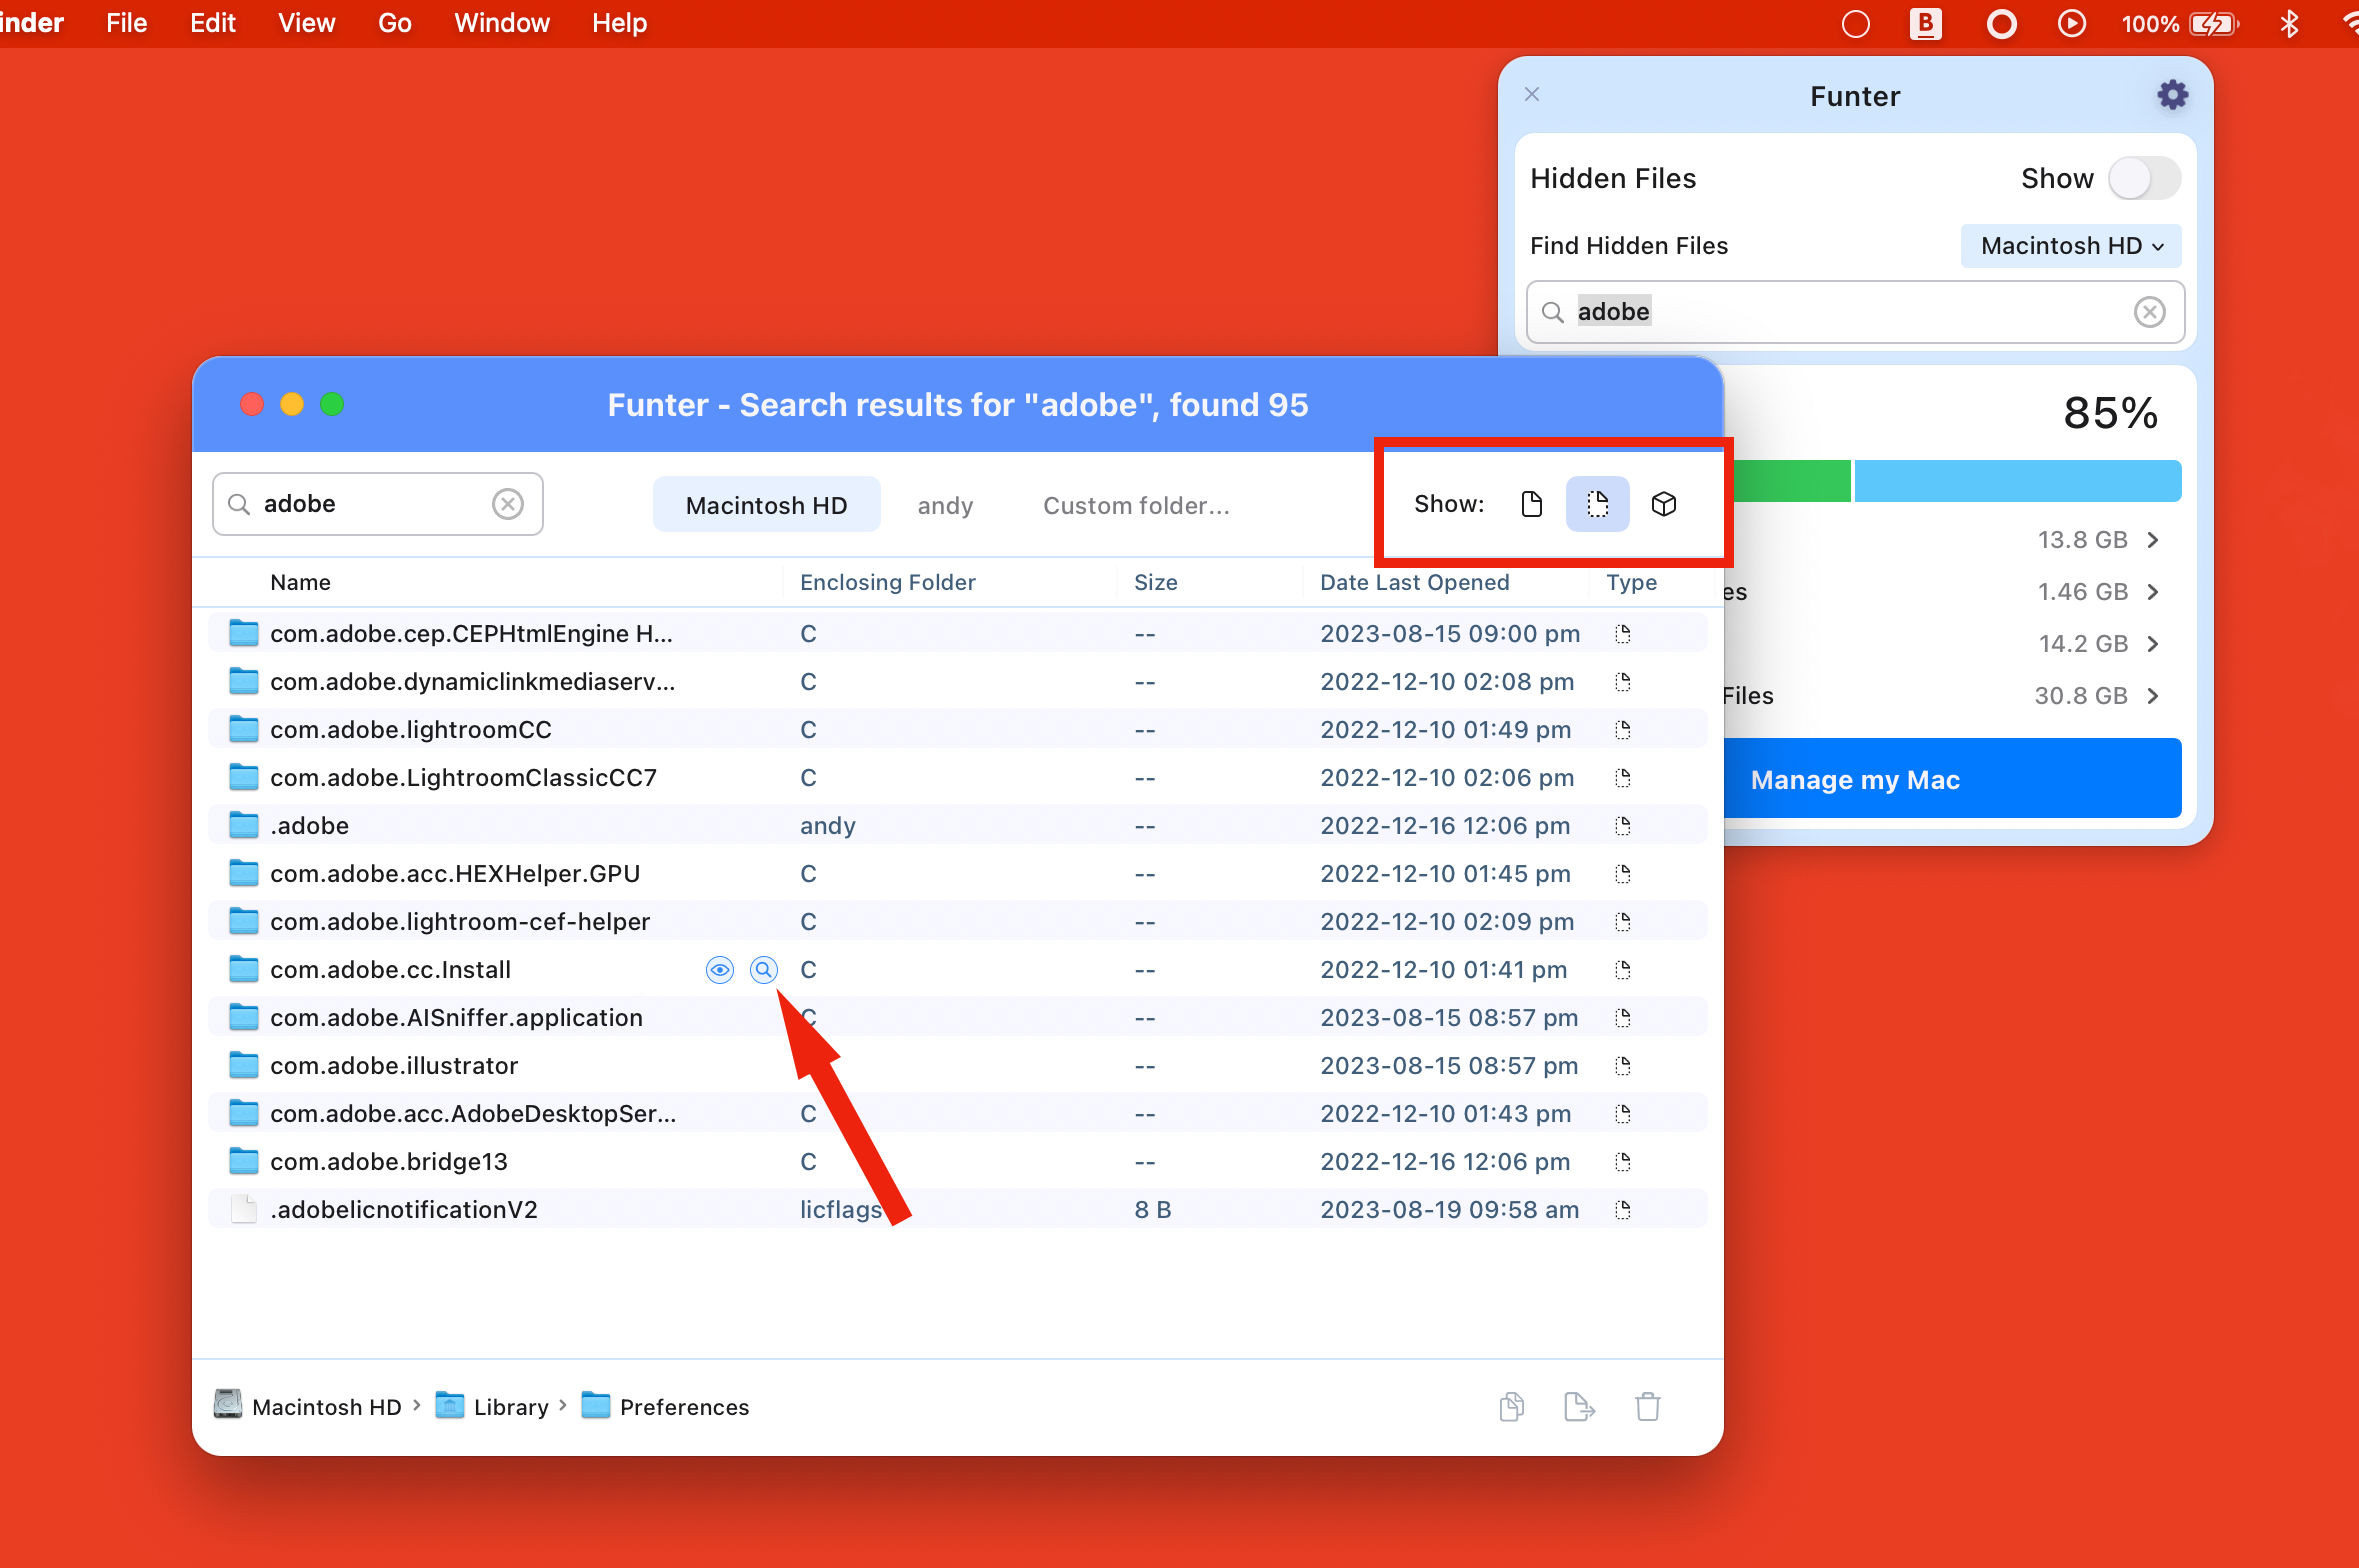
While most hidden files are system files that you’ll never have to know about, some apps can leave hidden files behind after you’ve uninstalled them—Adobe apps are guilty of this. Funter allows you to search for files related to apps you no longer use.
Once you’ve launched it, you can access Funter through the icon in the menu bar at the top of the screen. Just type into the search box, accept any permission prompts that appear, and wait while it scans your drive for matching files—it may take a while.
When you’ve got your results, filter them by clicking “Show regular files” at the top of the search window so that only “Show hidden files” is highlighted. To access a hidden folder, hover over it and click the magnifying glass icon that appears. This will open it in Finder.
To jump straight to a hidden file, do the same thing, but you’ll be prompted to show hidden files in Finder as an extra step. Follow the prompts to enable that.
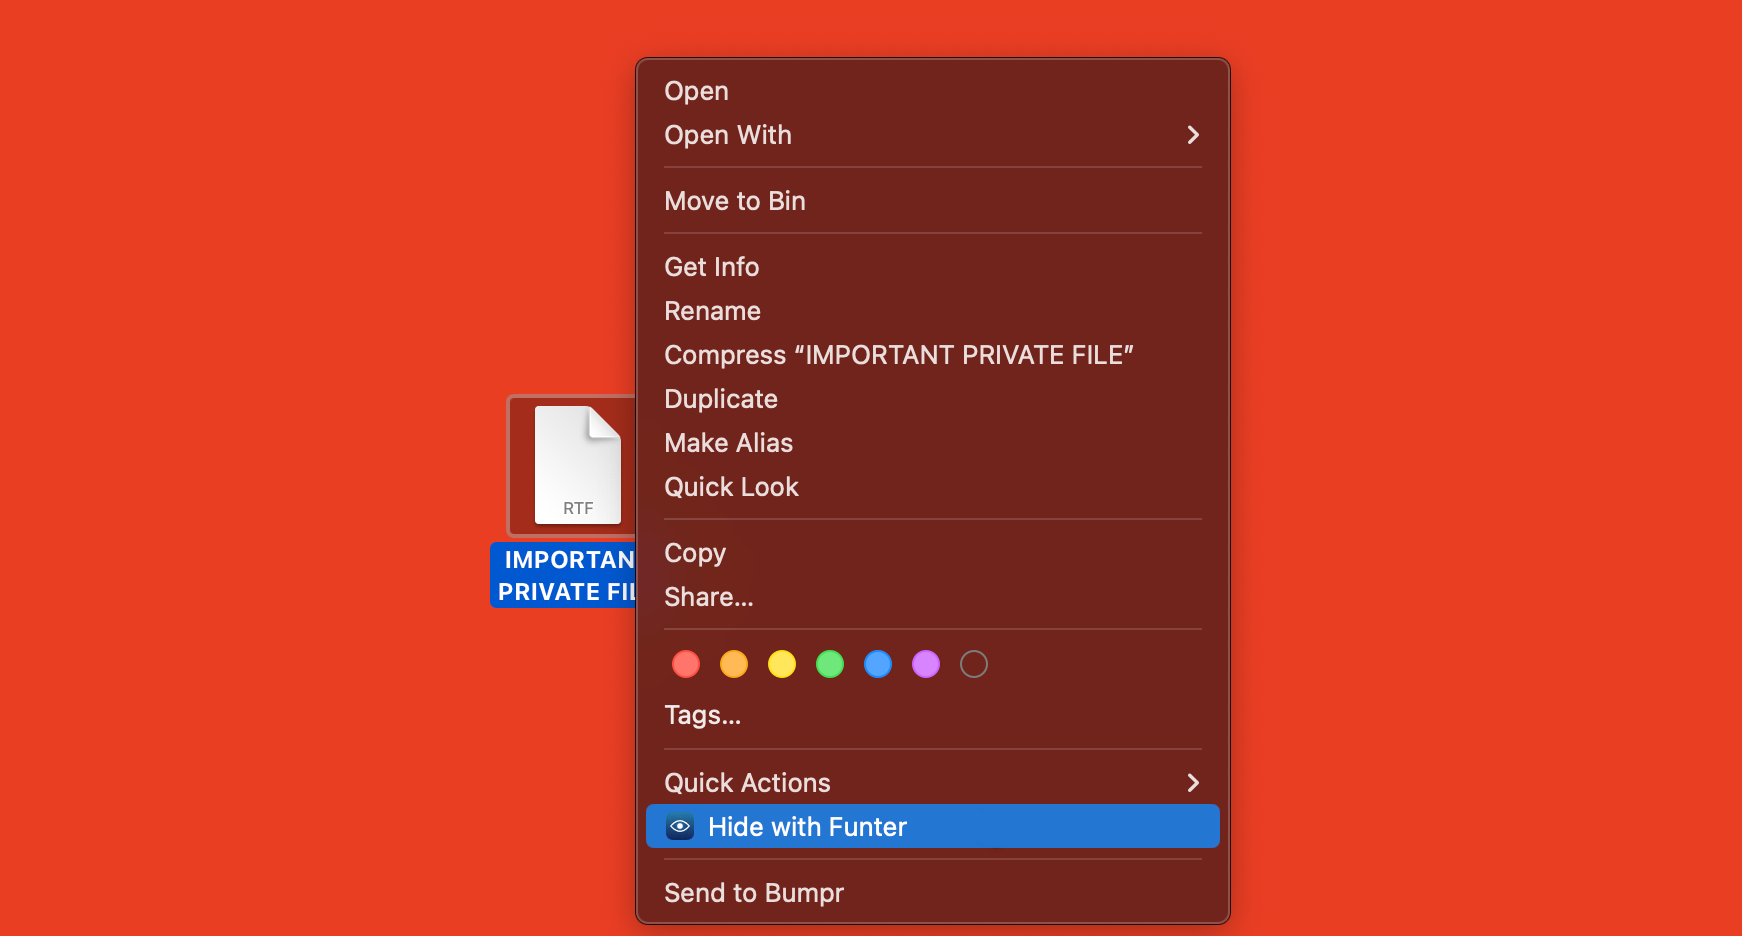
Funter has a few other features worth exploring, the best of which is the ability to hide files. Just right-click on a file or folder and select “Hide With Funter.” To undo it, show your hidden files using the Shift+Command+. (period) shortcut, then right-click the file and select “Unhide With Funter” to make it visible again.
Be Careful Making System Files Visible
It’s easy to view and access hidden files on your Mac if you need to. You should remember that most files are hidden for a reason, so be careful. But if you want to clean up some of the junk left behind when you uninstall apps, you now know how to do it.
source


