Key Takeaways
- Social media apps like TikTok and Instagram intentionally lower the quality of videos to save space and enhance the user experience.
- To upload higher-quality videos on Instagram, go to the settings menu, disable Data Saver, and enable “Upload at Highest Quality.”
- Shooting in HDR and uploading at 1080p and 30 or 60 fps with a bitrate of 5–15Mbps will result in better-quality Instagram videos and Reels.
Have you ever asked yourself, “Why are my Instagram videos blurry?” If you’re trying to upload a beautiful pic or video, but the published result is an out-of-focus photo or low-quality Instagram Reel, we’re here to help.
Social media apps like TikTok and Instagram purposely lower the quality of photos and videos. One reason for this is that it takes up less space on their platform, but it’s also to improve your app experience. For example, Instagram lowers the quality so you can upload and post a photo, video, or Reel quicker, even with a poor cell signal or on slow Wi-Fi.
Thankfully, a hidden “Upload at highest quality” option is buried in the settings menu. Here’s how to enable it.
How to Upload Higher-Quality Videos on Instagram
Buried under Settings and Privacy > Data Usage and Media Quality is a toggle for “Upload at Highest Quality.” By default, this toggle is disabled, which results in compressed photos and videos in favor of faster uploads. This is why that stunning 1080p video you took on your phone looks grainy, blurry, and not all that great once it’s posted.
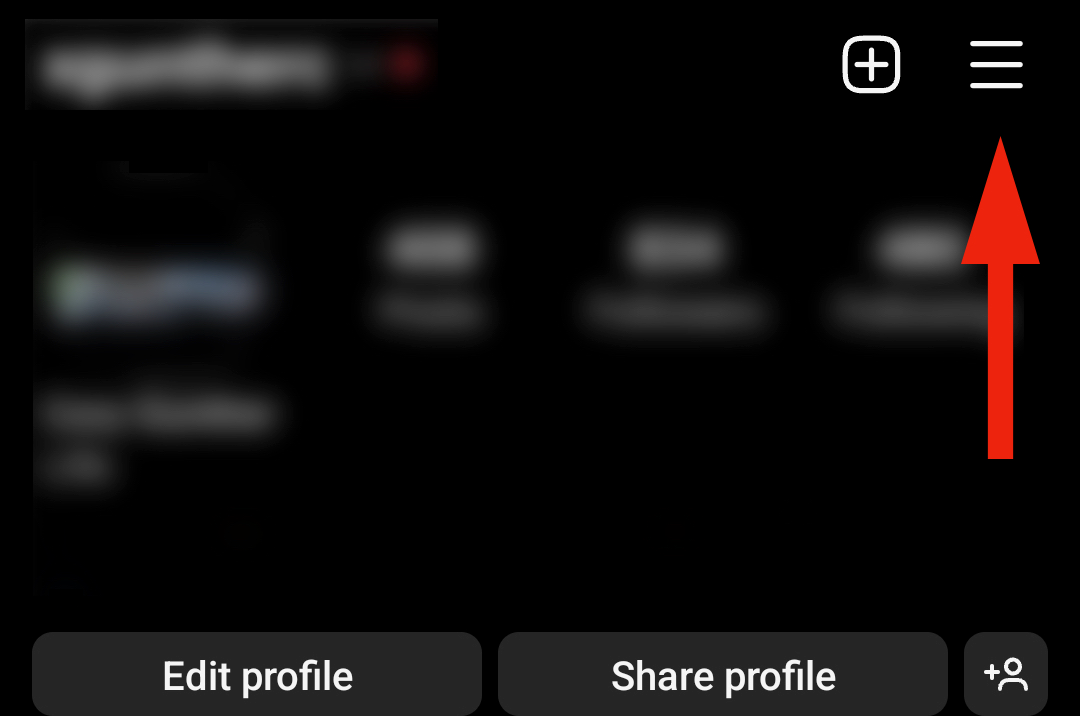
To start, open the Instagram app on your iPhone or Android device and go to your profile page. Tap the three-line menu button near the top right.
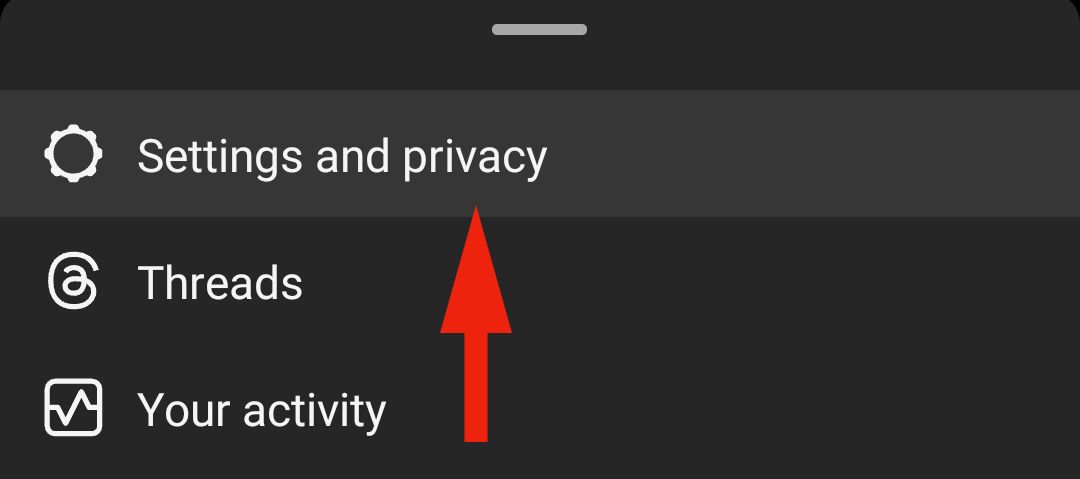
Find and select “Settings and Privacy.”
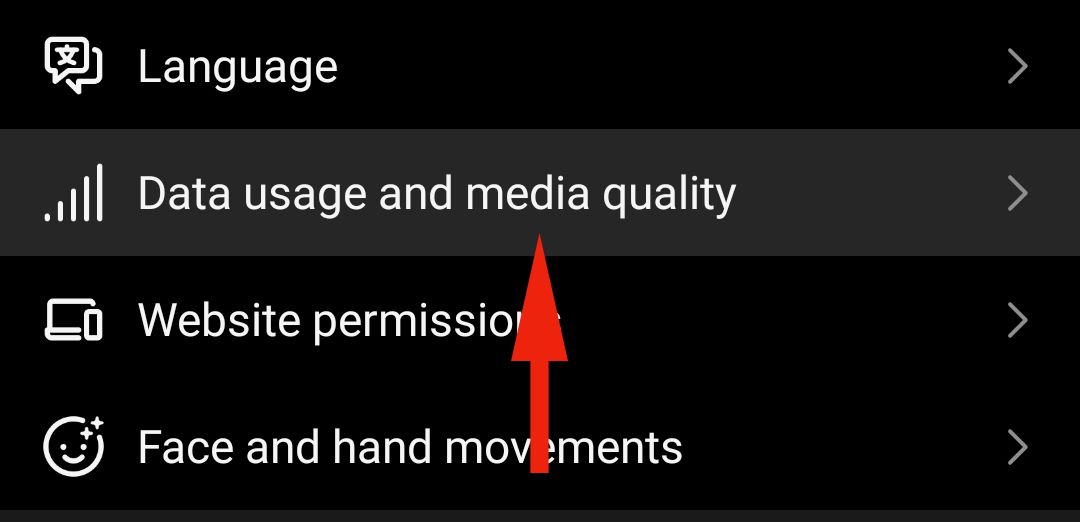
Then, scroll down and tap the “Data Usage and Media Quality” option.
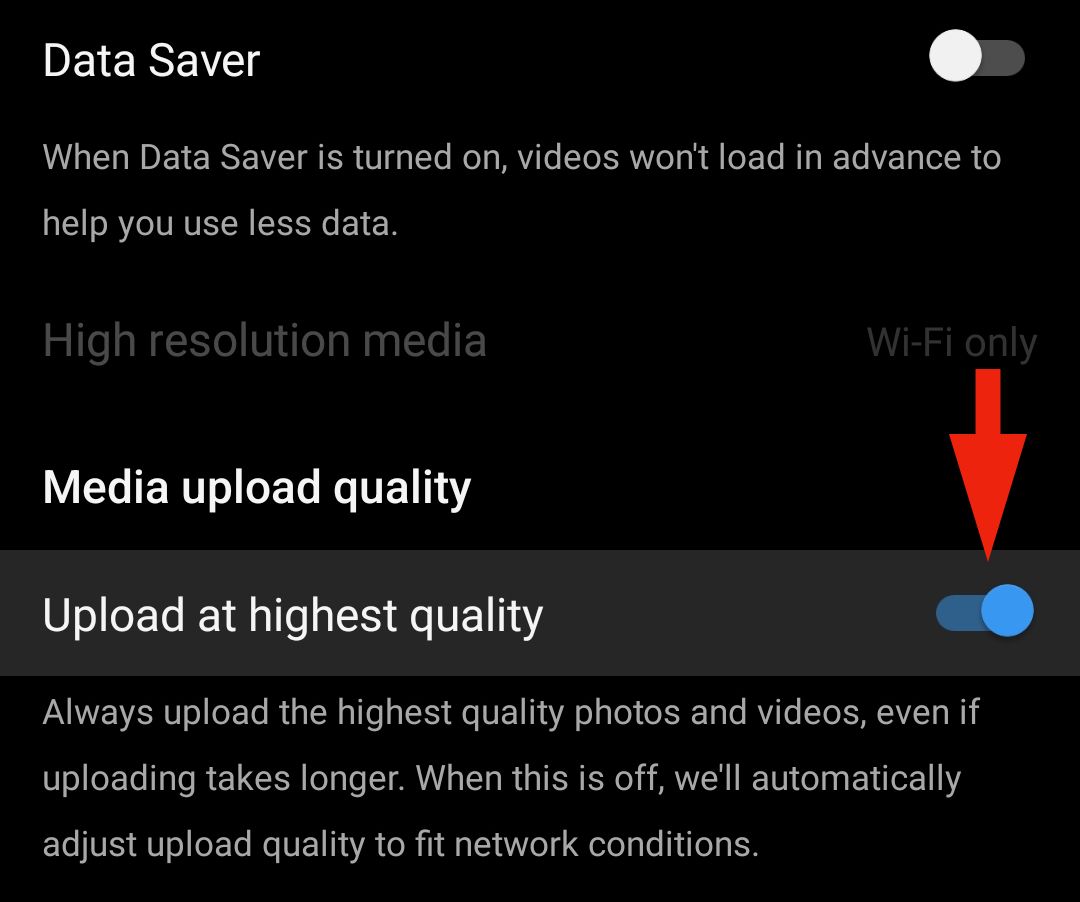
Now, you’ll see two different sections on this page. “Data Saver” mode will limit high-resolution media uploads on your choice of Wi-Fi only or both cellular and Wi-Fi. Go ahead and flip the switch to disable Data Saver. This will increase usage on your data plan, so keep that in mind, but it also improves quality.
The second section is the most important one. Instagram will automatically adjust (lower) upload quality to fit network conditions. To improve the quality of your photos and videos, enable “Upload at Highest Quality” by toggling the switch on.
With this setting enabled, as it says, Instagram will “always upload the highest quality photos and videos, even if uploading takes longer.” Now, you’ll always get the best video quality uploads possible, regardless of your internet connection.
Other Tips to Improve Instagram Quality
There are plenty of ongoing debates and discussions about how to improve video quality on Instagram. Some users believe only popular trending videos look good, while the social platform compresses others that aren’t as successful. What we do know is that Instagram’s own Reels upload requirements suggest at least 30 fps videos in 720p or higher resolution.
However, jumping up to a 4K video won’t help, as it’ll still get compressed even if you flip the switch mentioned above. Overall, your best bet is to upload at 1080p and 30 or 60 fps with a bitrate around 5–15Mbps.
Another option is shooting in HDR (high dynamic range) on your phone or camera equipment. Have you ever noticed that some Instagram videos or reels increase the brightness on your phone while they play? That’s because those videos are shot in HDR, which Instagram supports.
You’ll achieve better results with crisp Instagram videos and Reels by turning on high-quality uploads and combining the best resolution, file size, and HDR.
source
