Key Takeaways
- Rearrange, hide, or remove cluttered menu bar icons on your Mac by holding the Command key and dragging them.
- Remove macOS icons like Siri and Spotlight by dragging them out of the menu bar or disabling them in System Settings. Remove third-party icons from the relevant apps settings
- Customize the time, date, name, and Control Center by going to System Settings > Control Center.
Your Mac’s menu bar can be home to all kinds of useful shortcuts and quick actions. But if it’s overstuffed with icons, you might prefer to rearrange, hide, or remove some of them instead. Here’s how to customize the menu bar to your liking.
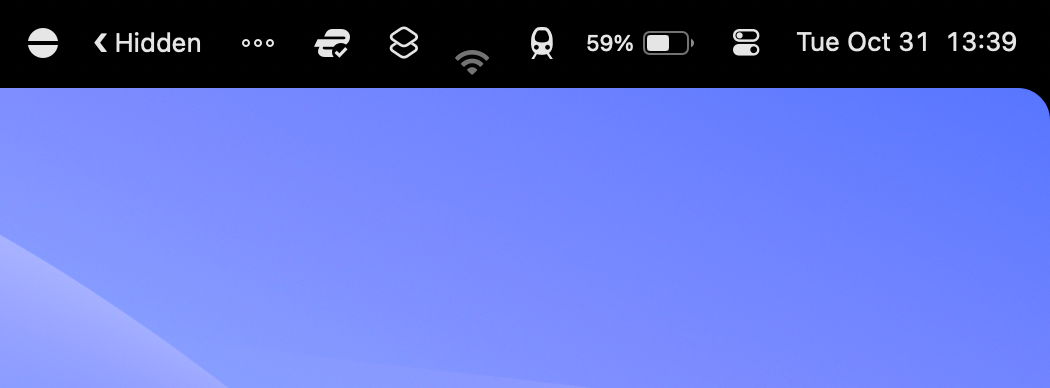
There’s a good chance if you’re reading this you already know what the menu bar is, but just in case you don’t: the menu bar is the list of icons that appears in the top-right corner of your Mac screen, next to the time.
macOS and third-party apps will place icons here for quick access, which can be genuinely useful. Unfortunately, that utility can be hampered when there’s too much on screen at once. On top of this, it looks cluttered and unsightly sometimes, making it harder to quickly find the icons you actually use.
You can rearrange almost any menu bar icon by holding the Command key and then clicking and dragging. There are a few limitations to this. For example, you can’t click and drag the time and date, you can’t move Control Center, and if you have the Siri menu bar icon enabled you can’t move that one either.
There’s a quick way to remove some icons from your menu bar, and it’s identical to removing icons from your Mac dock: hold Command, click and drag the icon out of the menu bar until you see an “X” appear, then release your mouse button.
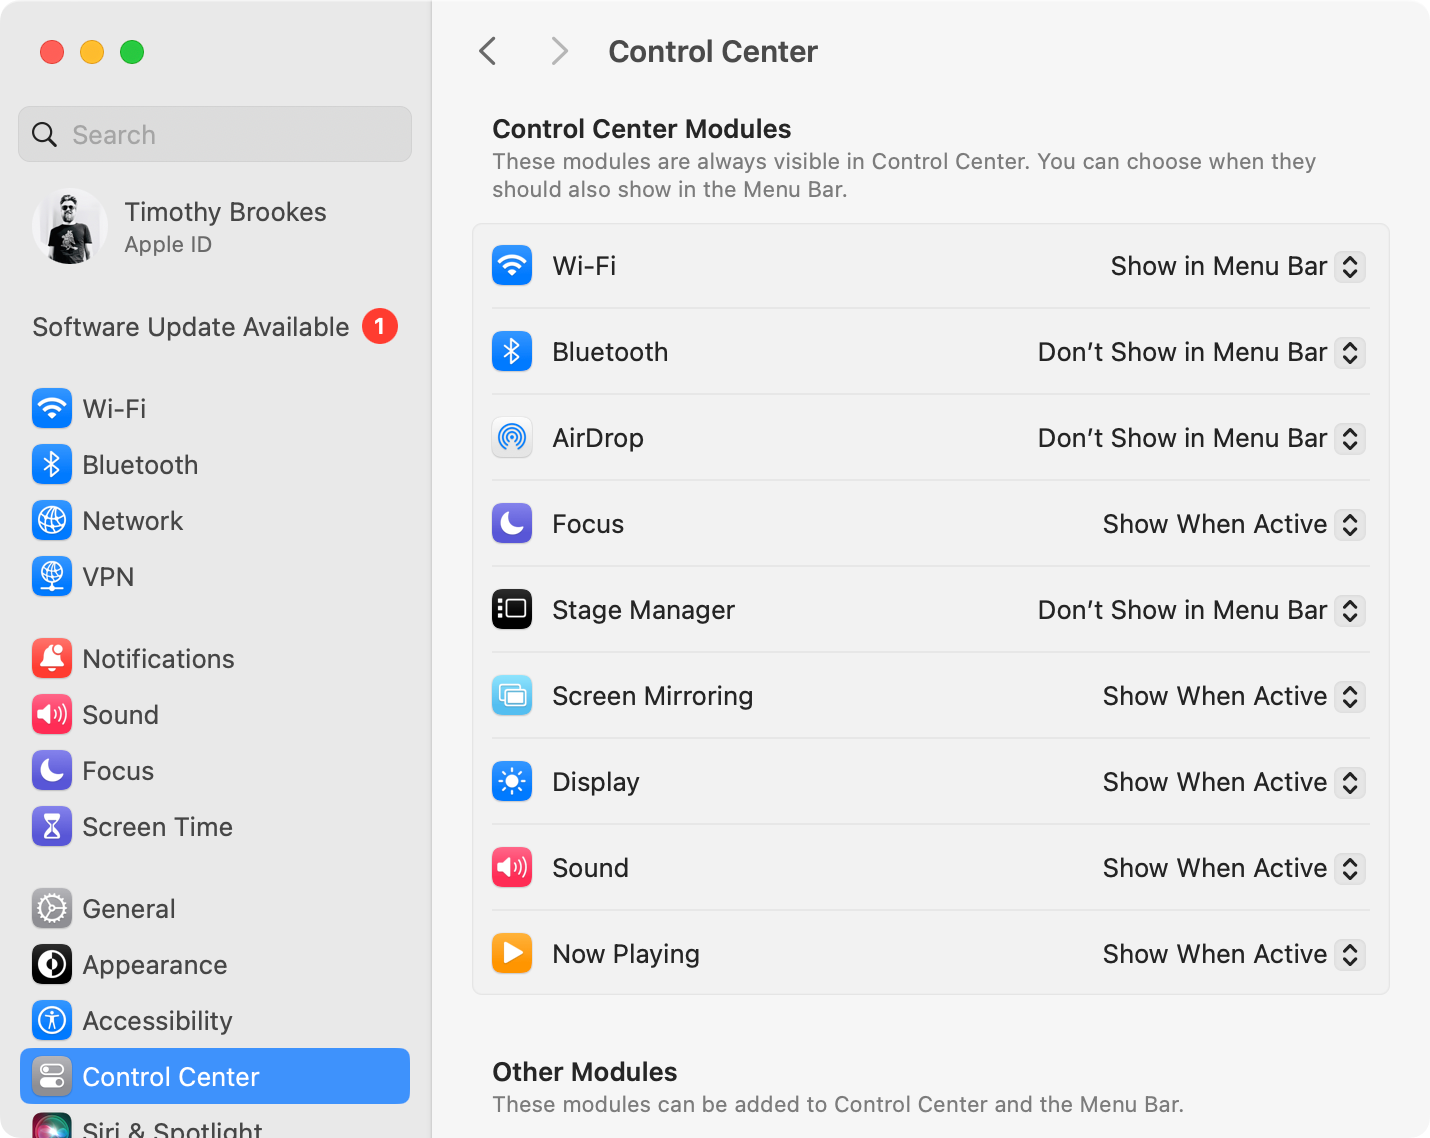
Some icons can’t be dragged and will need to be disabled from the settings instead. Head to System Settings > Control Center to see a list of all the available options. Change “Show in Menu Bar” to “Don’t Show in Menu Bar” to remove those you don’t want.
Some redundant icons you might want to remove include the Spotlight search magnifying glass (you can trigger it with Command+Space), Siri (trigger it with “Hey Siri” or hold F5), and VPN icons (especially if you use a proprietary VPN client). You can always add icons back using this menu.
While here, you may want to enable the battery percentage readout alongside the “Battery” module, which makes the icon far more useful.
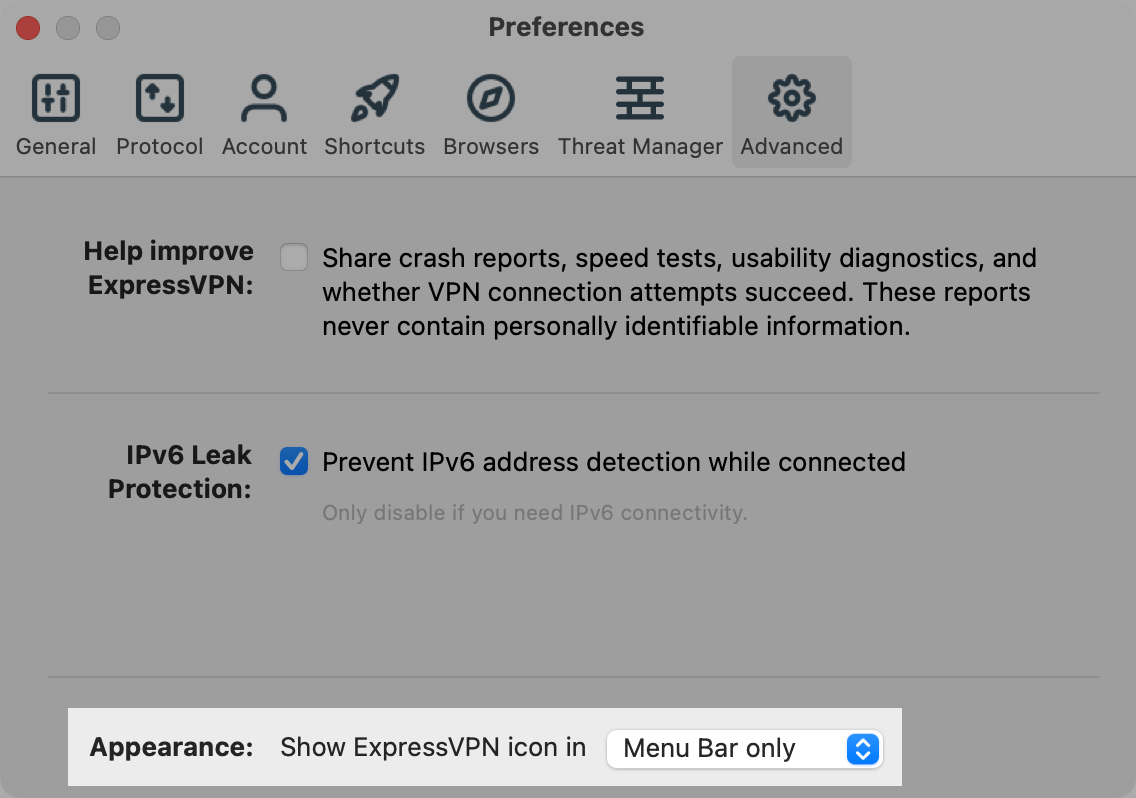
You can’t get rid of third-party app icons using the Command and drag method. The easiest way to get rid of these is to change the setting that enables them within the associated app. Some apps, like ExpressVPN, let you decide whether to show an icon in the dock, in the menu bar, or both.
Sometimes, the icon that appears in the menu bar is a background process. You can get rid of Mac background processes from System Settings > General > Login Items, under the “Allow in the Background” section. At other times, it’s an app that started up when your computer booted, which you’ll find under the “Open at Login” section of the same menu.
Some apps seem to always show an icon when in use, and there’s not a lot you can do about this. Evernote, for example, places a Quick Note shortcut in the menu bar with no option to turn it off. You’ll either have to replace Evernote with a better note-taking app or hide it using a third-party application, like Bartender or Hidden Bar.
Sometimes, the only solution is to temporarily hide icons, so that you don’t have to look at them all the time. This is also a good option if you want to keep the icon around, just in case you need it.
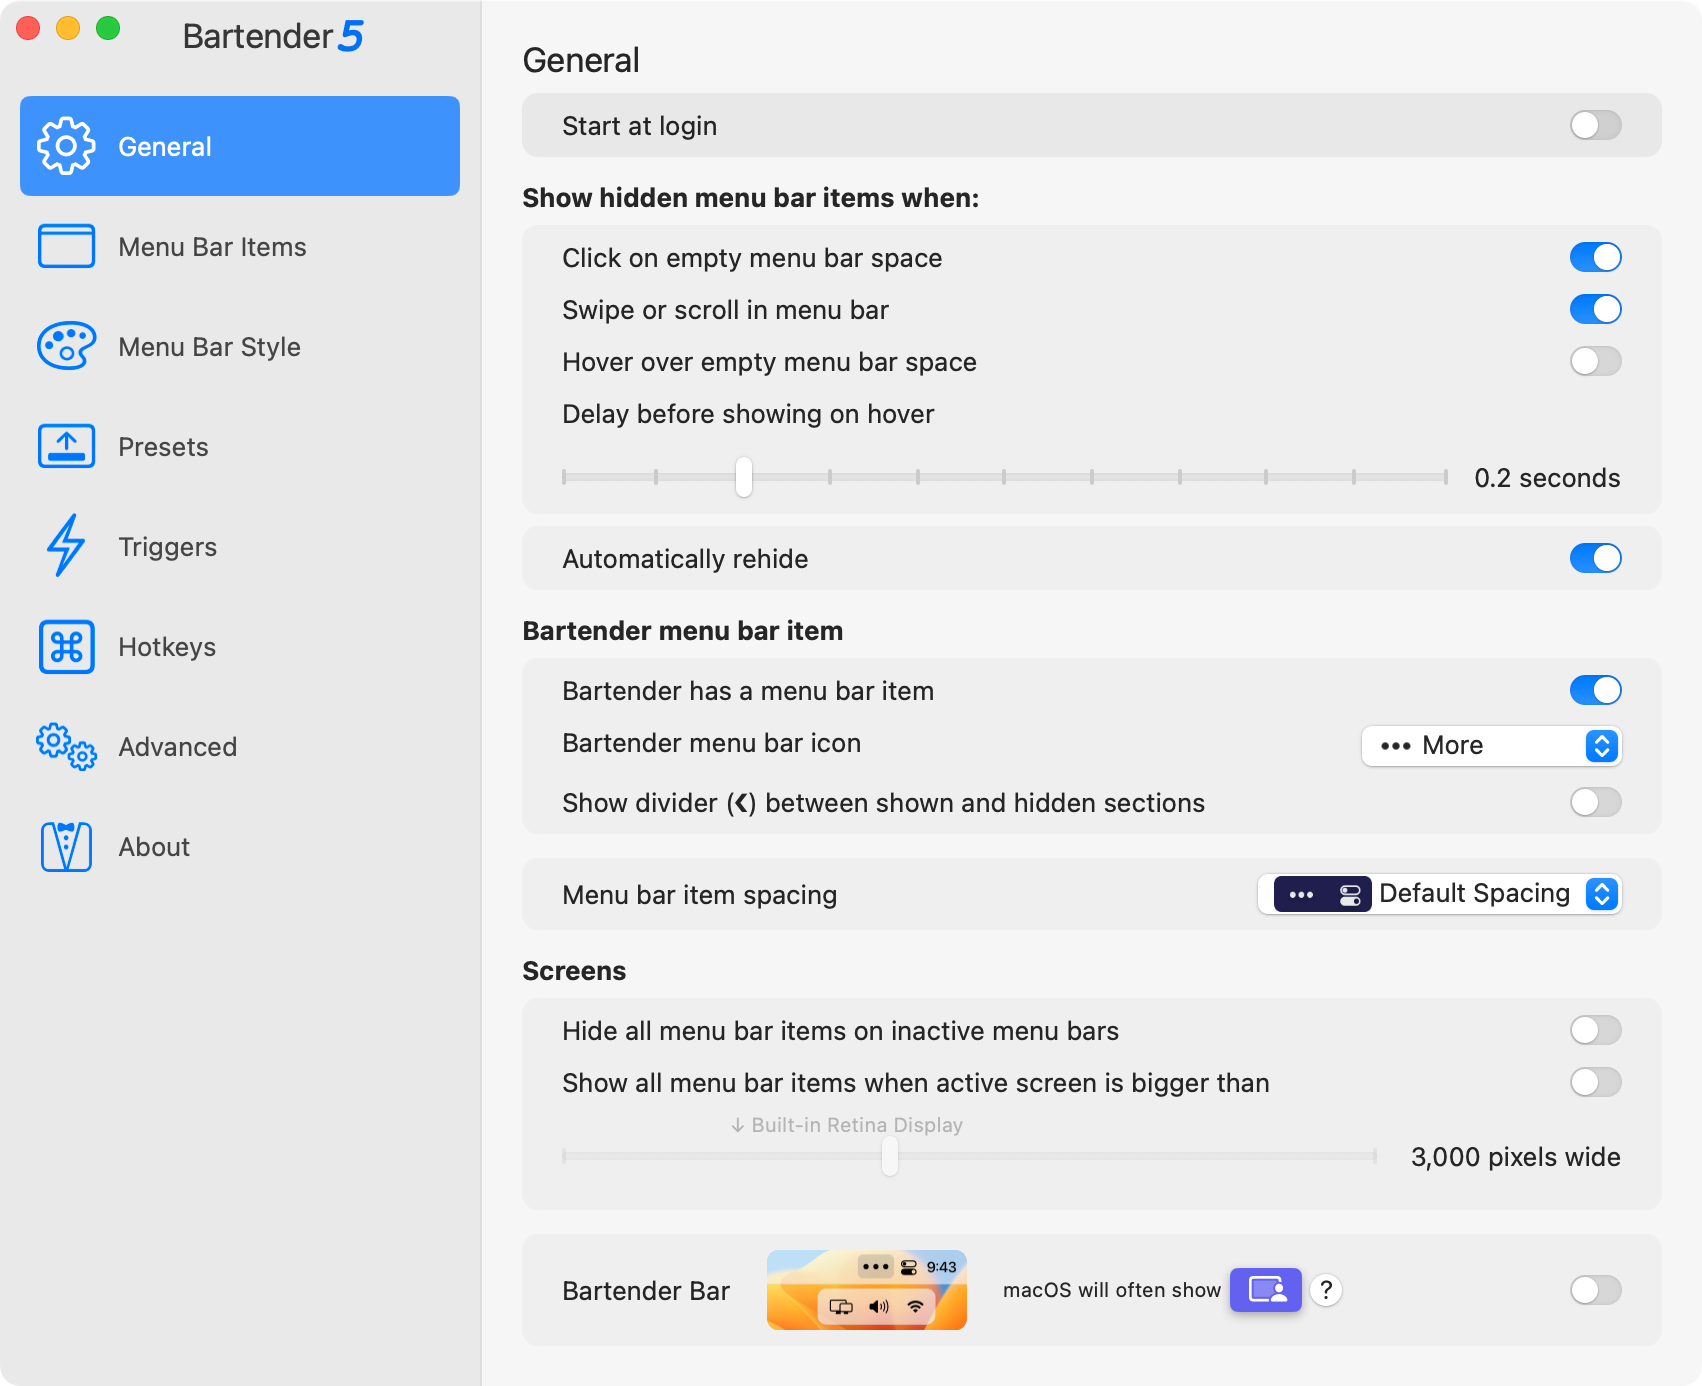
Bartender is a $16 app with a four-week trial built around this concept. By default, Bartender places a small ellipsis (…) to the left of your menu bar. Hold Command then click and drag icons to the left of this icon to hide them. Reveal and access your hidden icons by simply clicking on the ellipsis. They’ll disappear again when you take your cursor away.
Bartender includes a lot of other features as well, like the ability to display icons on a separate bar, create customizable behaviors for hiding icons, customize the menu bar with colors and borders, and use deployable presets, triggers, hotkeys, and more.
Hidden Bar is a lightweight, free app that performs the same basic task in roughly the same way. It’s available as a download from Github. The app uses a trigger arrow and a spacer to divide apps. Move apps to one side of the spacer, then use the arrow to expand or contract the menu bar.
Customize the Time, Date, and Name in the Menu Bar
macOS also lets you customize the date and time display in the top-right corner of the screen. Head to System Settings > Control Center > Clock and click “Clock Options…” to open a new settings panel for this.
Here you can choose to display the date and day of the week, switch between analog and digital styles, use a 24-hour clock, flash the time separators, show seconds, and choose whether to announce the time and how often the announcements happen.
To edit the name that appears, head to System Settings > Control Center and find the “Fast User Switching” section. Using the “Show in Menu Bar” drop-down, you can choose to hide your name, show your full name, show your account name, or just show the Fast User Switching icon. If space is tight, hiding your name is a good idea.
Add Useful Icons Like Now Playing or Shortcuts
Now that you’ve made some space in the menu bar, it’s time to fill it with more useful icons. You’ll find some of these under System Settings > Control Center, including a Now Playing icon, which works for apps like Music, Spotify, and even Safari web pages.
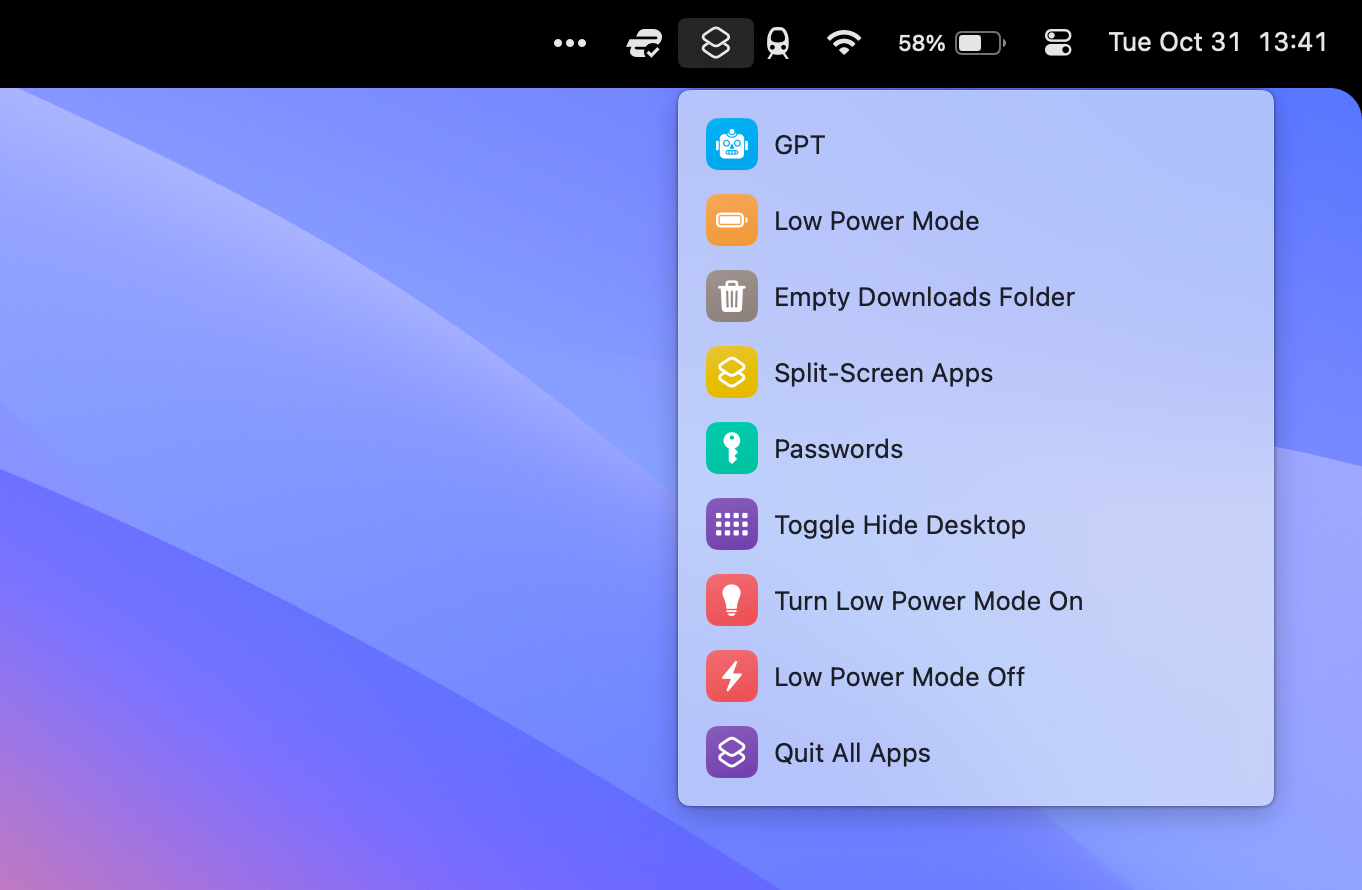
Shortcuts lets you build time-saving workflows that can work on both mobile platforms and macOS. One of the most useful ways to use Shortcuts on your Mac is via the menu bar. To display the icon, you’ll need to make sure that Shortcuts can be triggered using the menu bar.
Lastly, some third-party apps live in your menu bar to make life easier. These include clipboard managers like the free and open-source Maccy, bandwidth manager TripMode, free sleep-preventative Amphetamine, and system status monitor iStat Menus.
You’ve probably realized by now, but the most useful icons are in Control Center, which cannot be moved or removed. This is good, because you no longer need to display Wi-Fi or battery information in the menu bar, since it lives in the Control Center instead.
Head to System Settings > Control Center to customize what’s shown. Most items can’t be removed, but there are some options under the “Other Modules” you can tweak.
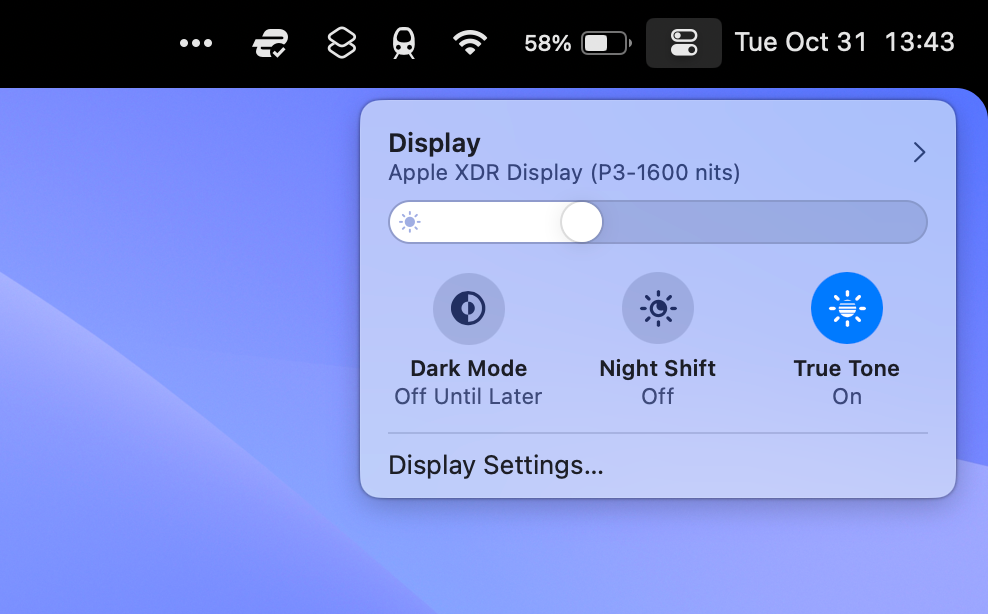
Many controls are nested within their respective sections in Control Center. For example, you’ll find Dark Mode and Night Shift toggles under “Display” and controls for sound output as well as AirPods transparency mode or noise cancelation options under Sound.
Remove Distractions and Stay Focused
A well-organized menu bar shows information like the time and your battery levels at a glance, while providing fast access to apps you use a lot like a VPN or your clipboard history. Removing distractions from the menu bar can help you better focus on the task at hand.
Want to be even more focused on your Mac? Give the macOS background sounds feature a shot, try out the Pomodoro Technique, and block distracting websites altogether.
source

